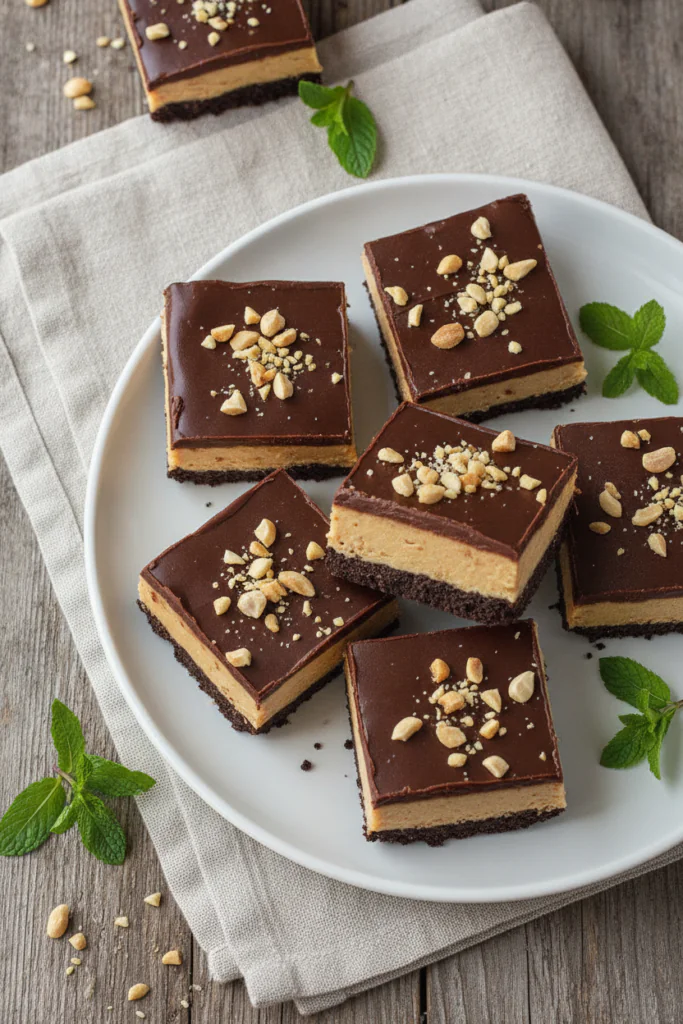
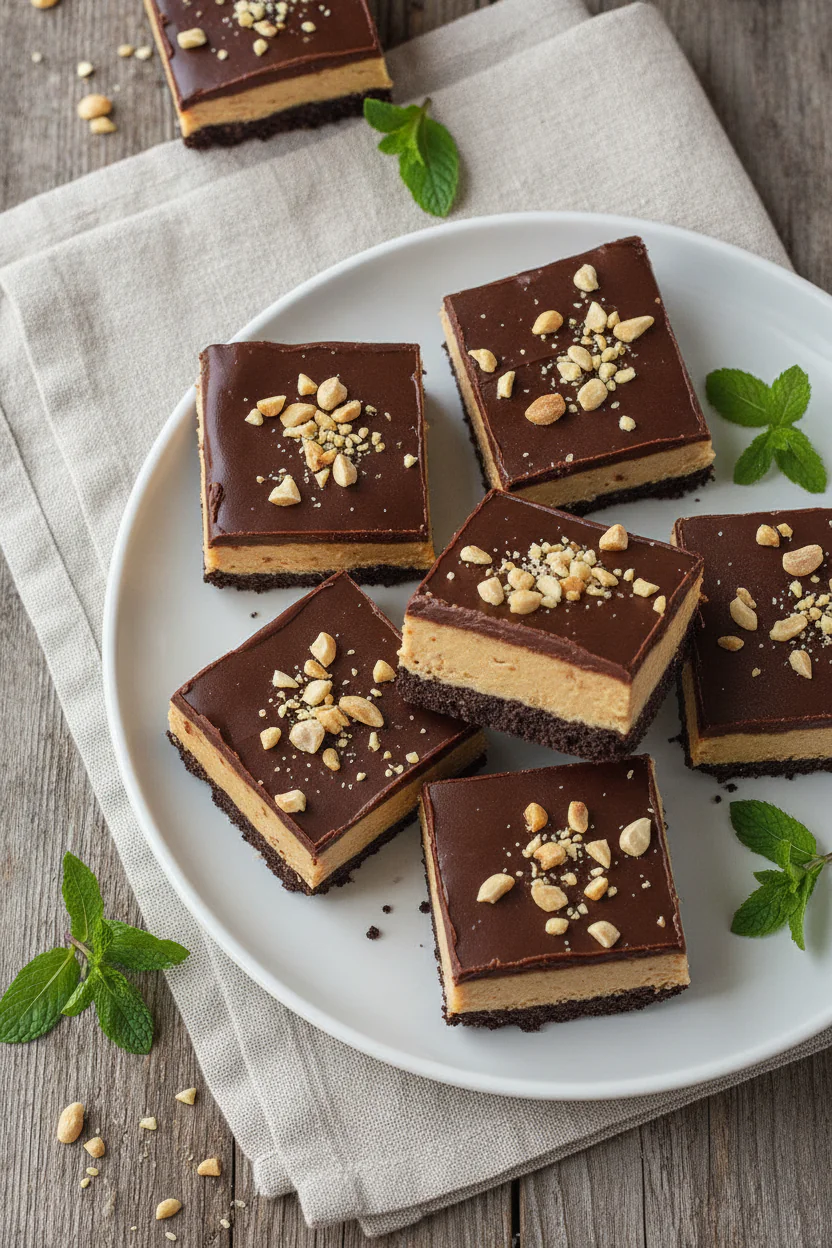
No-Bake Chocolate Peanut Butter Icebox Bars bring together a crisp chocolate cookie crust, a creamy peanut butter layer, and a thin chocolate topping that sets neatly in the refrigerator. The bars need no oven, and a short chill gives you clean slices with just enough soft, fudgy texture.
Why Make This Recipe
This is the sort of easy dessert recipe that earns its place in your regular rotation. You can make it ahead, the ingredient list is manageable, and the refrigerator does most of the work while you get on with dinner.
The bottom layer has a little salt to keep the chocolate from tasting flat. The middle is rich but lightened with whipped topping, so each square feels creamy instead of heavy. I use smooth peanut butter here because natural peanut butter can separate and make the filling loose.
It also travels well once chilled. Bring the pan straight from the refrigerator, or freeze it for a firmer slice. For another chilled dessert with a different texture, see these easy banana pudding layers or the airy strawberry mousse.
How to Make No-Bake Chocolate Peanut Butter Icebox Bars
Ingredients:
- 24 chocolate sandwich cookies, finely crushed
- 5 tablespoons unsalted butter, melted
- 1/4 teaspoon fine salt
- 8 ounces cream cheese, softened
- 3/4 cup creamy peanut butter
- 1/2 cup powdered sugar
- 1 teaspoon vanilla extract
- 1 cup cold heavy cream
- 2 tablespoons powdered sugar, for the whipped cream
- 1/2 cup semisweet chocolate chips
- 1/4 cup heavy cream, for the chocolate topping
- 2 tablespoons finely chopped roasted peanuts, optional
Directions:
Plan on 25 minutes of prep, 0 minutes of oven cooking, and at least 6 hours of chilling. The recipe makes 16 bars in an 8-inch square pan.
- Line an 8-inch square baking pan with parchment paper, leaving a little paper hanging over two sides. This makes the chilled bars much easier to lift out later.
- Stir the crushed chocolate cookies, melted butter, and salt together in a bowl. The mixture should look like damp sand and hold together when pressed between your fingers.
- Tip the crumbs into the prepared pan. Press them firmly into an even layer using the bottom of a measuring cup. Spend an extra minute on the corners, since a loose crust will crumble when sliced.
- Place the crust in the refrigerator while you make the filling. Ten minutes is enough to firm the butter.
- Beat the softened cream cheese, peanut butter, 1/2 cup powdered sugar, and vanilla in a medium bowl until smooth. Scrape down the sides once or twice so no plain cream cheese remains at the bottom.
- In a separate cold bowl, beat the heavy cream and 2 tablespoons powdered sugar until medium-stiff peaks form. When you lift the beaters, the peak should stand briefly with a slight bend at the tip.
- Fold one-third of the whipped cream into the peanut butter mixture to loosen it. Fold in the rest gently, stopping as soon as no white streaks remain.
- Spread the peanut butter filling over the chilled cookie crust. Use a small offset spatula or the back of a spoon to smooth the top. Refrigerate for 20 minutes while you prepare the chocolate layer.
- Put the chocolate chips in a heatproof bowl. Warm the 1/4 cup heavy cream in a small saucepan over medium-low heat until it is steaming and tiny bubbles appear around the edge. Don’t let it boil hard.
- Pour the hot cream over the chocolate chips and let the bowl sit for 2 minutes. Stir from the center outward until the topping is glossy and completely smooth.
- Pour the chocolate over the peanut butter layer and gently spread it to the edges. Sprinkle with chopped peanuts if you’re using them.
- Cover the pan and refrigerate for at least 6 hours, preferably overnight. For very neat cuts, freeze the pan for 30 minutes before slicing, then use a sharp knife warmed under hot water and wiped dry between cuts.
How to Serve No-Bake Chocolate Peanut Butter Icebox Bars
Let the bars sit at room temperature for 8 to 10 minutes before serving. That short rest softens the crust just enough to cut and eat comfortably while the layers still hold their shape.
Cut the slab into 16 small squares. These are rich, so smaller pieces make sense. Add a few roasted peanuts or a light dusting of cocoa powder just before serving. I don’t bother with extra sauce here; the thin chocolate top already gives each bite enough contrast.
For a simpler chocolate dessert with a spoonable filling, you can also try this easy chocolate pudding pie. It has a softer set and works nicely when you don’t need portable squares.
How to Store No-Bake Chocolate Peanut Butter Icebox Bars
Keep the covered bars in the refrigerator for up to 4 days. Store them in a single layer when possible, or place parchment between layers so the chocolate topping doesn’t stick. Since the filling contains cream cheese and dairy, keep the pan chilled rather than leaving it on the counter for a long stretch. The FDA’s food safety guidance is a useful reference for handling refrigerated foods at home.
For longer storage, freeze the bars on a parchment-lined tray until firm, then wrap each one and place them in a freezer container. They’ll keep well for about 2 months. Thaw individual bars in the refrigerator for several hours. For more guidance on storing prepared food, check the USDA leftovers and food safety recommendations.
Tips to Make No-Bake Chocolate Peanut Butter Icebox Bars
- Use room-temperature cream cheese. Cold cream cheese leaves small lumps that are difficult to smooth out once the whipped cream is folded in.
- Crush the cookies finely. Large pieces create weak spots in the crust and make the bars harder to cut cleanly.
- Press the base firmly, especially along the edges. A flat-bottomed glass works just as well as a measuring cup.
- Choose regular creamy peanut butter, not a runny natural variety. The filling needs enough structure to slice after chilling.
- Don’t overwhip the cream. Very stiff whipped cream can turn grainy when folded into the peanut butter mixture.
- Let the chocolate topping cool for a few minutes if it feels hot. Warm ganache can soften the filling and leave a wavy layer.
- Use a hot, dry knife for each cut. Dip the blade in hot water, wipe it completely dry, and slice straight down.
- For a less sweet bar, use bittersweet chocolate chips and reduce the peanut butter filling sugar by 2 tablespoons.
Variation
Turn these into mocha peanut butter bars by stirring 1 teaspoon of instant espresso powder into the warm cream before pouring it over the chocolate chips. The coffee won’t make the topping taste like a latte; it simply gives the chocolate a deeper edge. For a nut-free version, replace the peanut butter with sunflower seed butter and use cookies made without peanuts.
No-Bake Chocolate Peanut Butter Icebox Bars
Ingredients
Method
- Line an 8-inch square baking pan with parchment paper, leaving a little paper hanging over two sides. This makes the chilled bars much easier to lift out later.
- Stir the crushed chocolate cookies, melted butter, and salt together in a bowl. The mixture should look like damp sand and hold together when pressed between your fingers.
- Tip the crumbs into the prepared pan. Press them firmly into an even layer using the bottom of a measuring cup. Spend an extra minute on the corners, since a loose crust will crumble when sliced.
- Place the crust in the refrigerator while you make the filling. Ten minutes is enough to firm the butter.
- Beat the softened cream cheese, peanut butter, 1/2 cup powdered sugar, and vanilla in a medium bowl until smooth. Scrape down the sides once or twice so no plain cream cheese remains at the bottom.
- In a separate cold bowl, beat the heavy cream and 2 tablespoons powdered sugar until medium-stiff peaks form. When you lift the beaters, the peak should stand briefly with a slight bend at the tip.
- Fold one-third of the whipped cream into the peanut butter mixture to loosen it. Fold in the rest gently, stopping as soon as no white streaks remain.
- Spread the peanut butter filling over the chilled cookie crust. Use a small offset spatula or the back of a spoon to smooth the top. Refrigerate for 20 minutes while you prepare the chocolate layer.
- Put the chocolate chips in a heatproof bowl. Warm the 1/4 cup heavy cream in a small saucepan over medium-low heat until it is steaming and tiny bubbles appear around the edge. Don't let it boil hard.
- Pour the hot cream over the chocolate chips and let the bowl sit for 2 minutes. Stir from the center outward until the topping is glossy and completely smooth.
- Pour the chocolate over the peanut butter layer and gently spread it to the edges. Sprinkle with chopped peanuts if you're using them.
- Cover the pan and refrigerate for at least 6 hours, preferably overnight. For very neat cuts, freeze the pan for 30 minutes before slicing, then use a sharp knife warmed under hot water and wiped dry between cuts.
Notes
FAQs
Can I make these bars without a springform pan?
Yes. An 8-inch square baking pan lined with parchment is all you need. Leave two sides of parchment long enough to act as handles, then lift the chilled slab out before slicing.
Why is my no-bake crust falling apart?
The crumbs probably need more pressure or the cookies were not crushed finely enough. Press the mixture firmly into the pan, chill it before adding the filling, and measure the melted butter accurately. If the crumbs still look dry, stir in 1 extra tablespoon of melted butter.
Can I freeze chocolate peanut butter icebox bars?
Yes. Freeze them uncovered until solid, then wrap them individually and store them in an airtight container. Thaw them in the refrigerator, not on the counter, so the cream cheese filling stays firm and smooth. The history and basic idea of chilled layered desserts is also explained in this icebox cake reference.
Conclusion
These chocolate peanut butter bars are a good recipe to keep nearby when you need dessert before the oven is available. Make the layers in the morning, chill the pan through the day, and slice it when you’re ready for something cool, creamy, and easy to share.